Pond-Free 103 Chapter 7
Installing Equipment
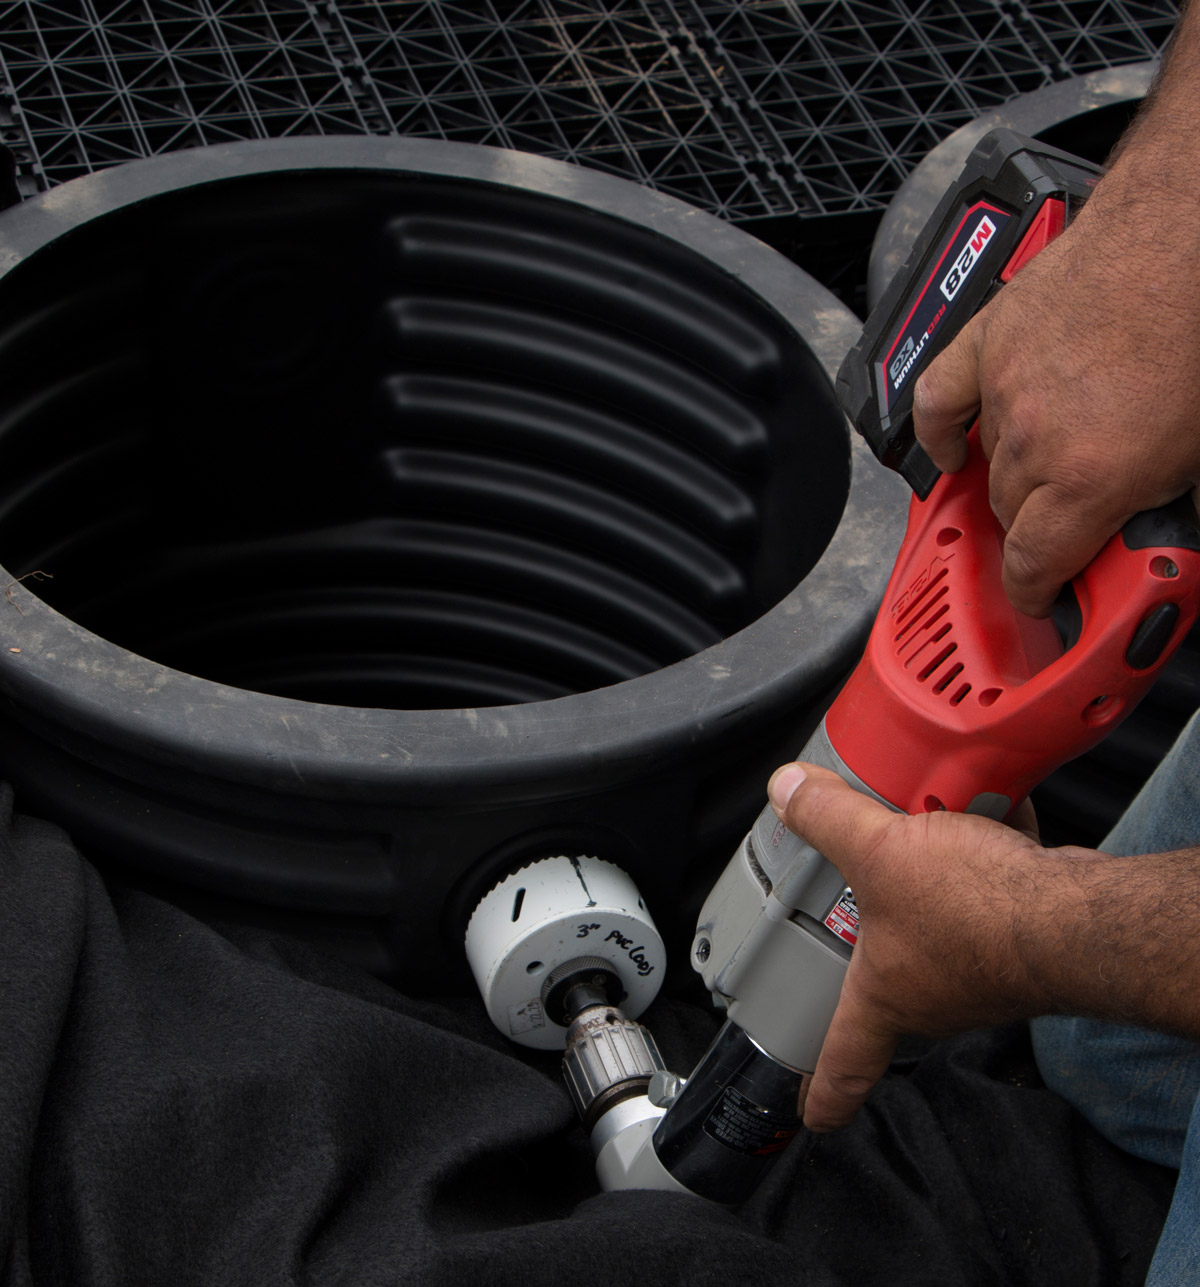
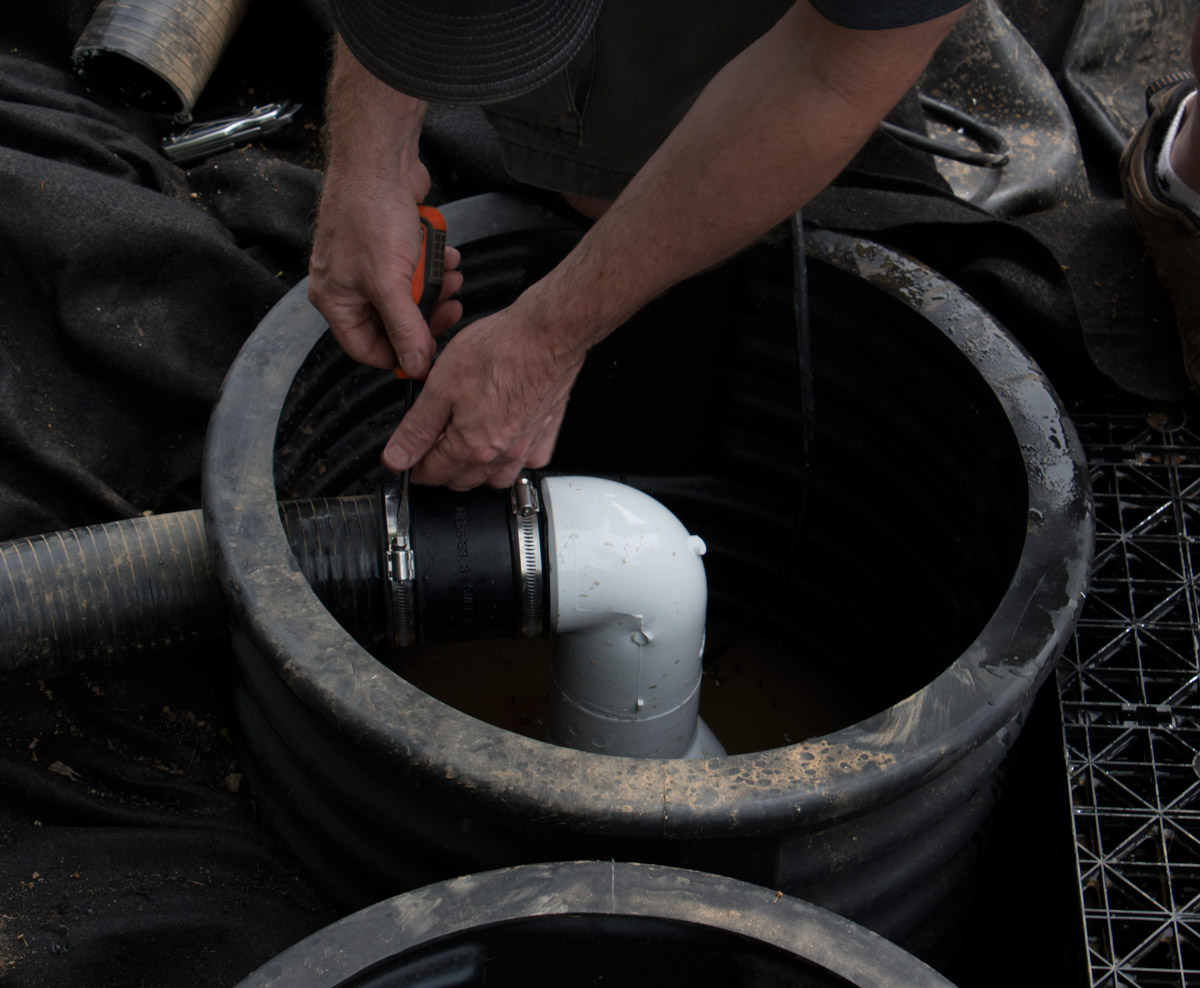
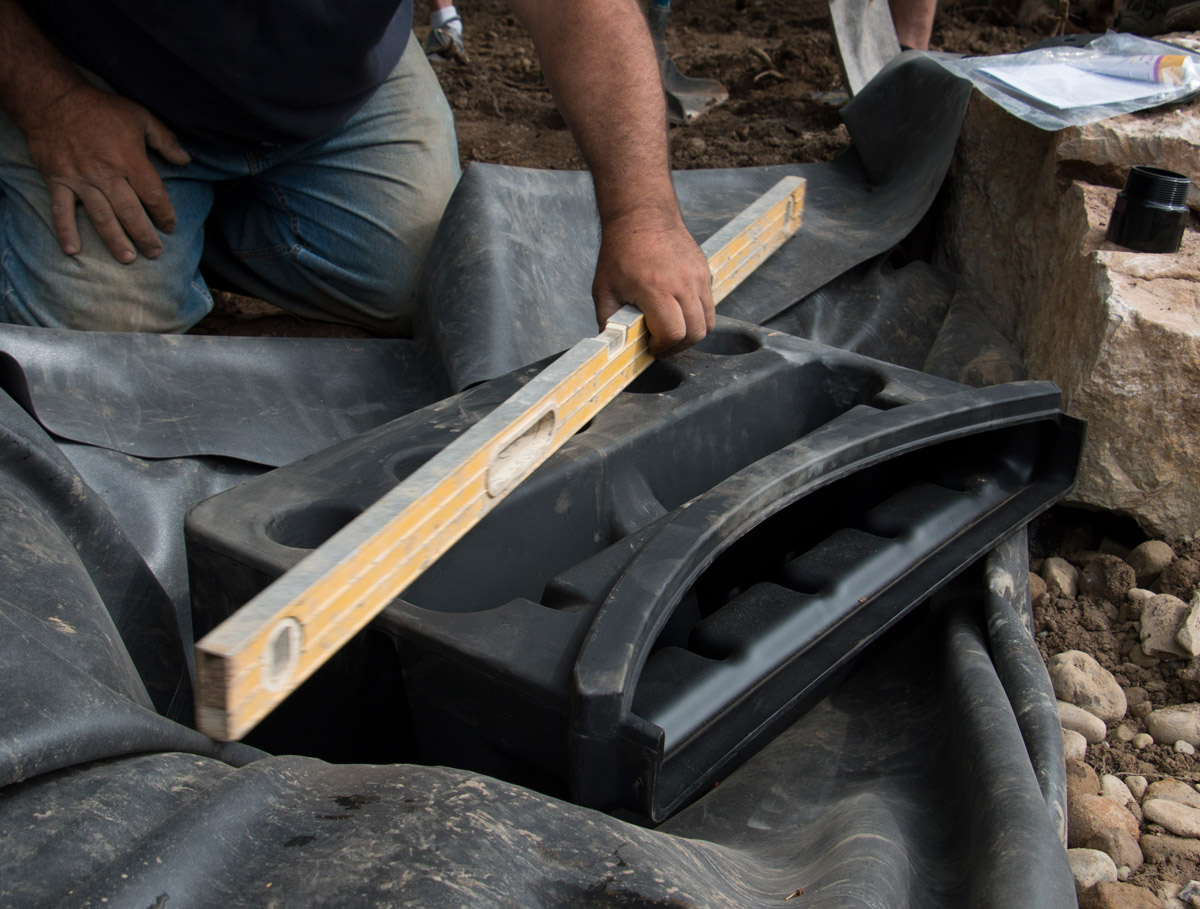
Now’s the time to get the equipment installed, while everything’s in place and there’s no rock in the way. Install the pump or pumps, with check valve(s), in the Vault if you haven’t already. Lay out the tubing from the Vault up to the Waterfall Box and connect that to the pumps in the Vault. If you know where your spillway is going you can attach that too, but it’s always a good idea to leave a ton of slack. We’ll typically install a Pro FastFalls at the very edge of the liner regardless of the excess, then accordion fold the extra in front of the spillway, leaving all that folded liner stashed and waiting in case of settling or a change in plans. Install the Automatic Fill Valve or Pump Protector if there is one but remember not to turn on the fill valve until you’ve had a chance to run the feature for at least a couple of days to be sure that everything’s running great and there’s no water leaking.

Pump Vault installation

Check Valve installation

FastFalls installation
Now’s the time to get the equipment installed, while everything’s in place and there’s no rock in the way. Install the pump or pumps, with check valve(s), in the Vault if you haven’t already. Lay out the tubing from the Vault up to the Waterfall Box and connect that to the pumps in the Vault. If you know where your spillway is going you can attach that too, but it’s always a good idea to leave a ton of slack. We’ll typically install a Pro FastFalls at the very edge of the liner regardless of the excess, then accordion fold the extra in front of the spillway, leaving all that folded liner stashed and waiting in case of settling or a change in plans. Install the Automatic Fill Valve or Pump Protector if there is one but remember not to turn on the fill valve until you’ve had a chance to run the feature for at least a couple of days to be sure that everything’s running great and there’s no water leaking.

Pump Vault installation

Check Valve installation

FastFalls installation


