Pond-Free 103 Chapter 9
Rock and Gravel Tips
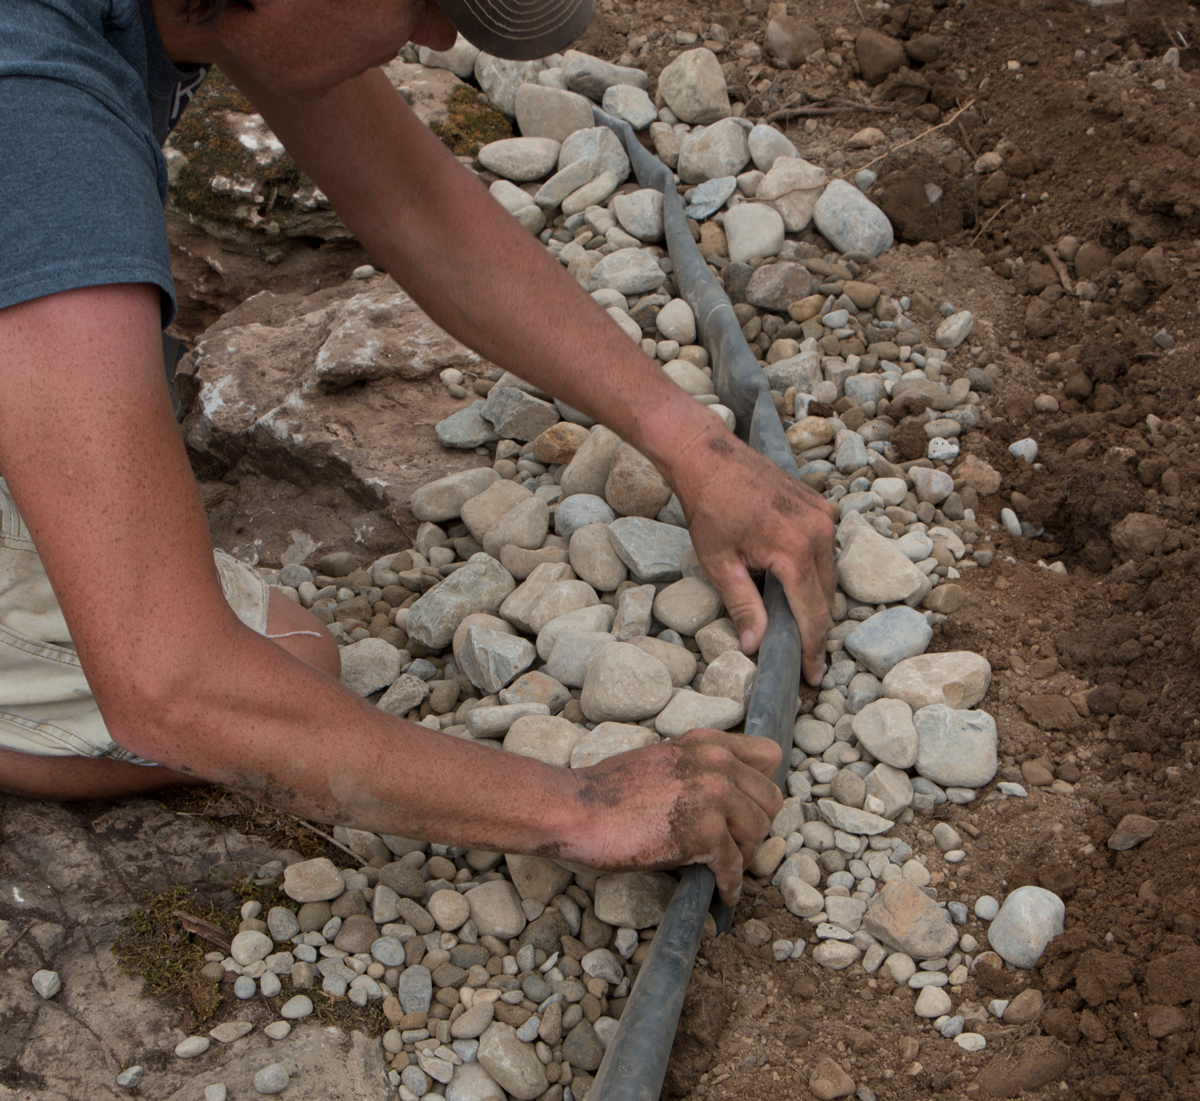
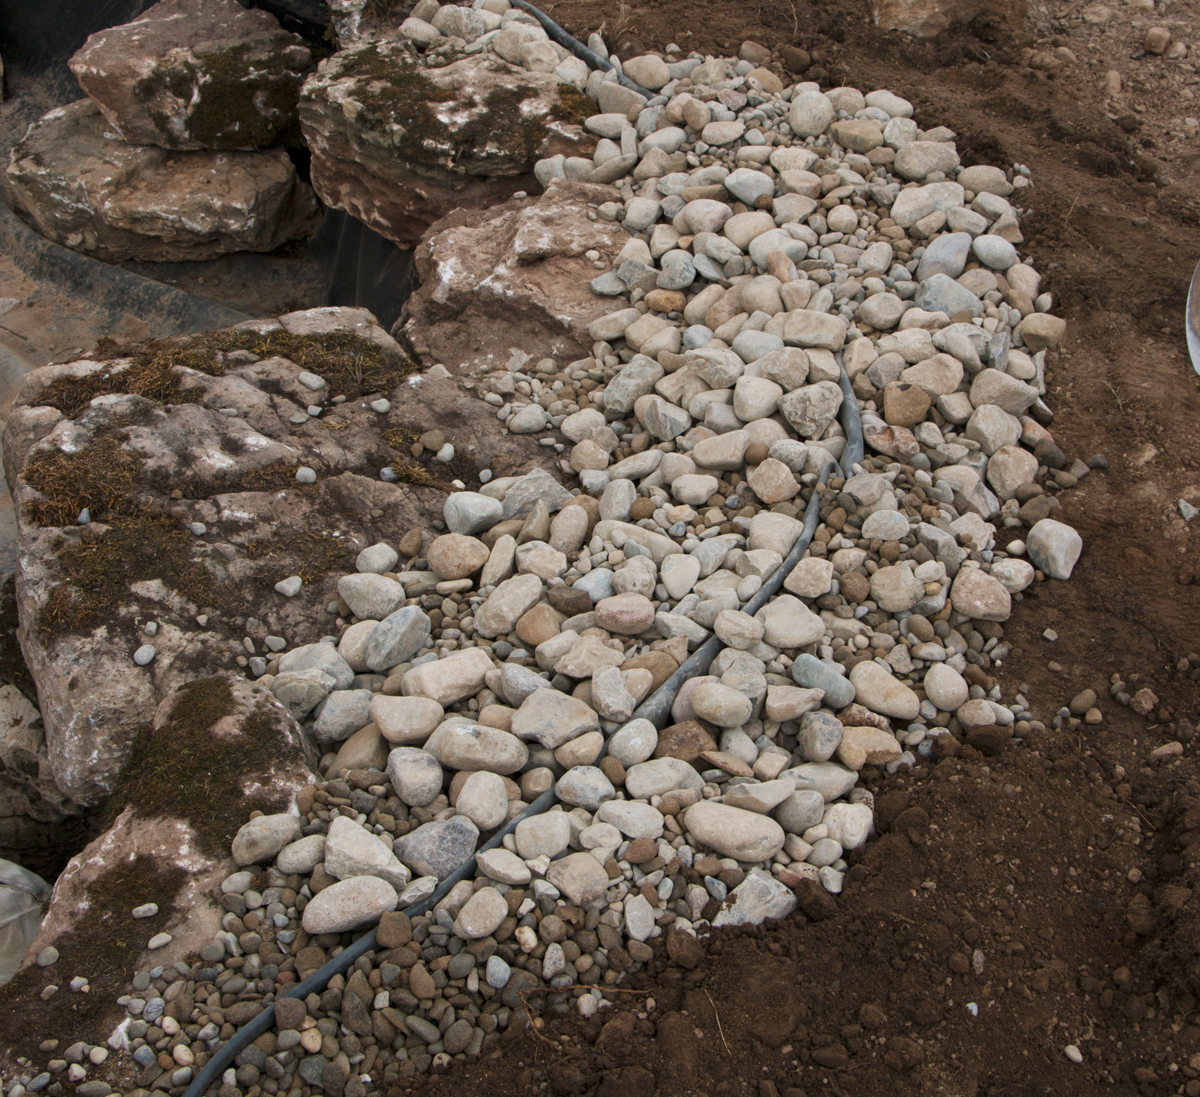
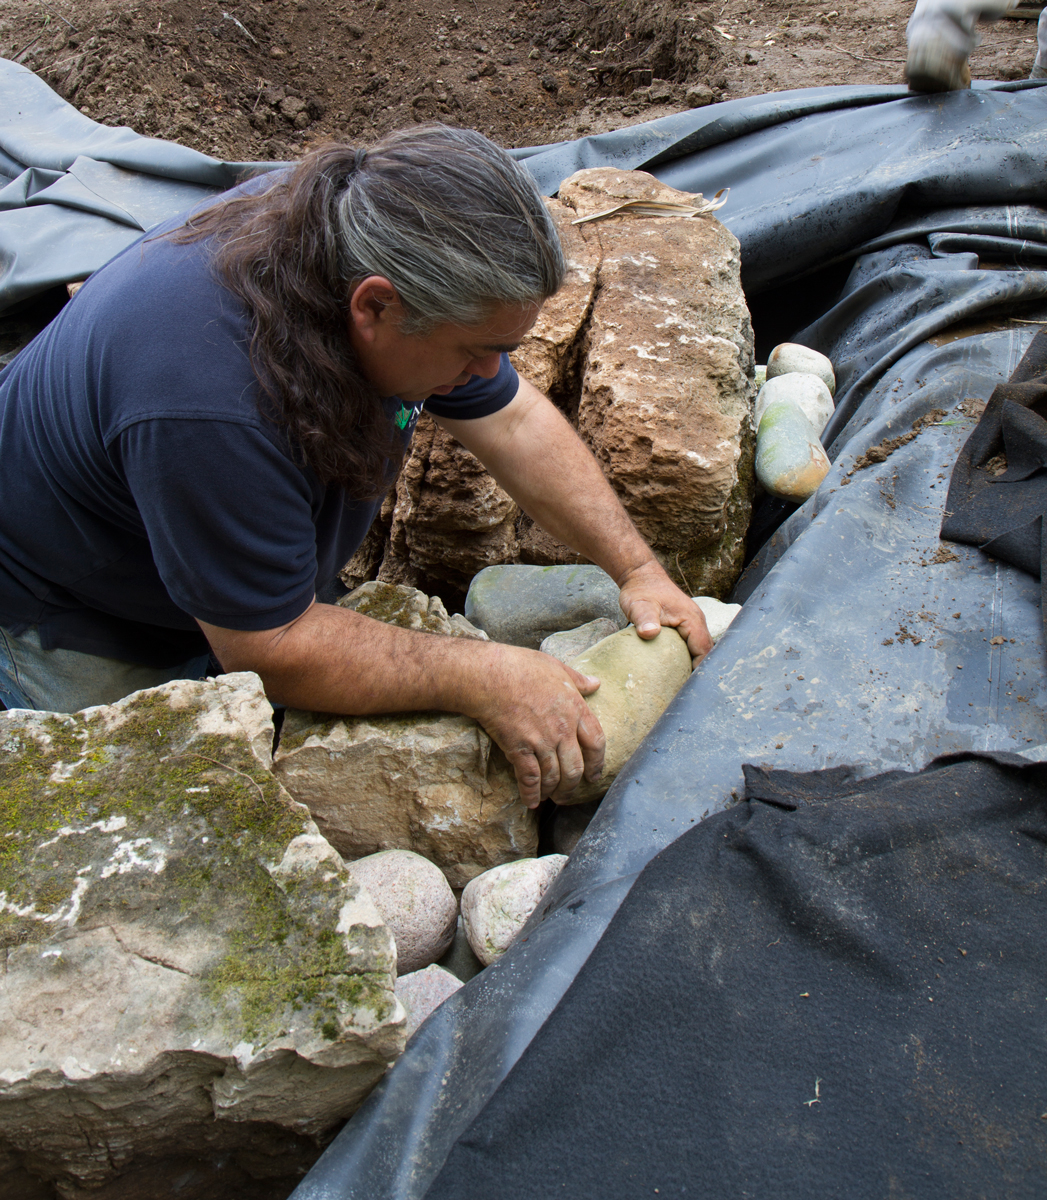
Backfill between the edge stones and the liner with gravel as you bring soil up on the outside of the liner to hide it, ‘sandwiching’ the liner vertically between the gravel and soil. This ‘sandwich’ will keep the liner from “drooping” and the gravel will also help lock the edge stones in place.


 If you’re serious about making the feature as natural looking as possible, take a hike – literally. Find local waterfalls and streams and study how water moves stones, or is moved by them. If that’s not an option for you, browse the Web for images of streams and waterfalls. No Web? Hit the local library. I personally recommend studying photographs of the great Japanese gardens, the rock placement is amazing. There are even some good books out there that can help, like Rick Bartel’s guide to setting stones as naturally as possible. His R.I.S.E Method, for Random, Irregular, Spontaneous and Erratic rock placement, is nicely illustrated and can be very helpful.
Avoid the ‘dry gravel beach’ look at the bottom of the Pond-free water feature by covering most of the reservoir with a piece of scrap liner, so the water has to flow over the gravel until it reaches the edge of the scrap liner and spills down into the reservoir. This will extend the apparent stream as far as possible, giving even the rocks on top of the water matrix blocks that ‘wet look’ and the charm of running water. This is a much different look than having your basin looking dry all the time.
The formulas for boulder calculation below are well-respected and commonly accepted.
Quantity of Boulders and Gravel needed for the Pond-Free Reservoir
Tons of Boulders = Length x Width ÷ 40
Tons of Gravel = Tons of Boulders ÷ 4
Quantity of Boulders and Gravel for the Stream
Tons of Boulders = 1.5 tons for every 10’ of stream
Tons of Gravel = Tons of Boulders ÷ 4
Ratio of Sizes of Boulders
For each 1 Ton of 6”-12” boulders, get 2 Tons of 12”-18” boulders, 1 Ton of 18”-24” boulders
Backfill between the edge stones and the liner with gravel as you bring soil up on the outside of the liner to hide it, ‘sandwiching’ the liner vertically between the gravel and soil. This ‘sandwich’ will keep the liner from “drooping” and the gravel will also help lock the edge stones in place.


 If you’re serious about making the feature as natural looking as possible, take a hike – literally. Find local waterfalls and streams and study how water moves stones, or is moved by them. If that’s not an option for you, browse the Web for images of streams and waterfalls. No Web? Hit the local library. I personally recommend studying photographs of the great Japanese gardens, the rock placement is amazing. There are even some good books out there that can help, like Rick Bartel’s guide to setting stones as naturally as possible. His R.I.S.E Method, for Random, Irregular, Spontaneous and Erratic rock placement, is nicely illustrated and can be very helpful.
Avoid the ‘dry gravel beach’ look at the bottom of the Pond-free water feature by covering most of the reservoir with a piece of scrap liner, so the water has to flow over the gravel until it reaches the edge of the scrap liner and spills down into the reservoir. This will extend the apparent stream as far as possible, giving even the rocks on top of the water matrix blocks that ‘wet look’ and the charm of running water. This is a much different look than having your basin looking dry all the time.
The formulas for boulder calculation below are well-respected and commonly accepted.
Quantity of Boulders and Gravel needed for the Pond-Free Reservoir
Tons of Boulders = Length x Width ÷ 40
Tons of Gravel = Tons of Boulders ÷ 4
Quantity of Boulders and Gravel for the Stream
Tons of Boulders = 1.5 tons for every 10’ of stream
Tons of Gravel = Tons of Boulders ÷ 4
Ratio of Sizes of Boulders
For each 1 Ton of 6”-12” boulders, get 2 Tons of 12”-18” boulders, 1 Ton of 18”-24” boulders


