Ponds 103 Chapter 5
Installing the Underlayment and Liner
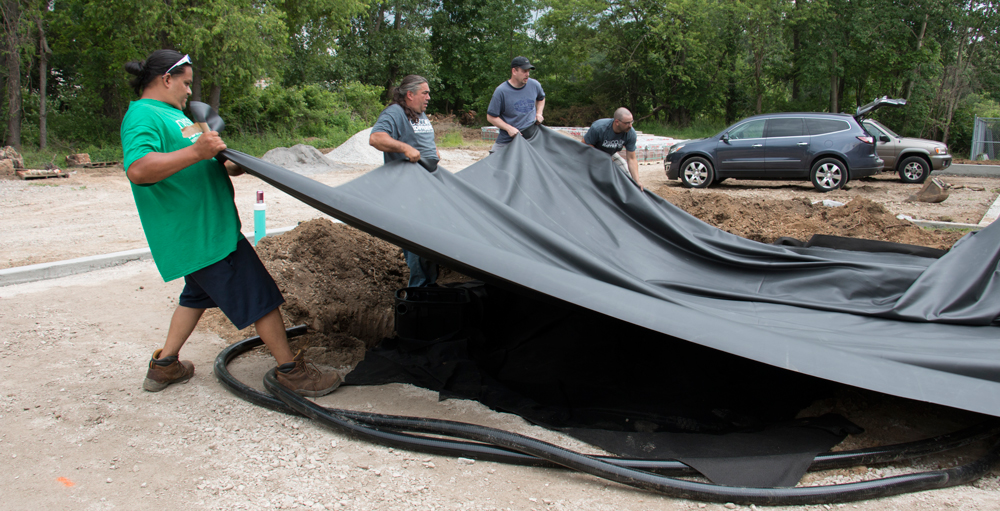
Once the excavation is complete, clear the areas around the pond where you’ll be dragging in the liner, to avoid pulling in a lot of debris into the nice clean hole you just dug. Pull all loose soil well back from the edges. Install the underlayment from the center of the pond outwards, overlapping each strip a foot if multiple pieces are necessary. Once the underlayment is down, figure out how you will need to unfold the liner, then get enough people together to lift and carry it into proper position, dragging it as little as possible to avoid knocking debris into the excavation. If stones do fall in, get them out before continuing to set the liner. Carefully unfold the liner, aligning it the way you planned for in the sketch until you’re sure it’s centered properly in the hole.
If you’re going to leave the liner uncovered, step the liner down into the corners and adjust to make sure the liner reaches the edges everywhere. Smooth the bottom and collect excess liner along the sides into a few vertical pleats before starting to fill the pond. As the pond fills, tug out the wrinkles on the bottom before there’s much more than a few inches in the pond, because water weighs more than you think and it soon be impossible to smooth out the bottom further. Fold the gathered pleats away from the direction people will most often be viewing from, to minimize the vertical folds. Keep the liner snug as the pond fills, but let it relax into the corners rather than stretch excessively, which could lead to failure down the line.
If you’re fully rocking the pond, the liner will be covered anyway. Consider the type of stone you’re using. If the stone has very rough or sharp edges, consider covering the inside of the liner with geotextile before rocking the pond, for complete encapsulation of the EPDM and total protection inside and out.


