Ponds 102 Chapter 4
Designing the Layout
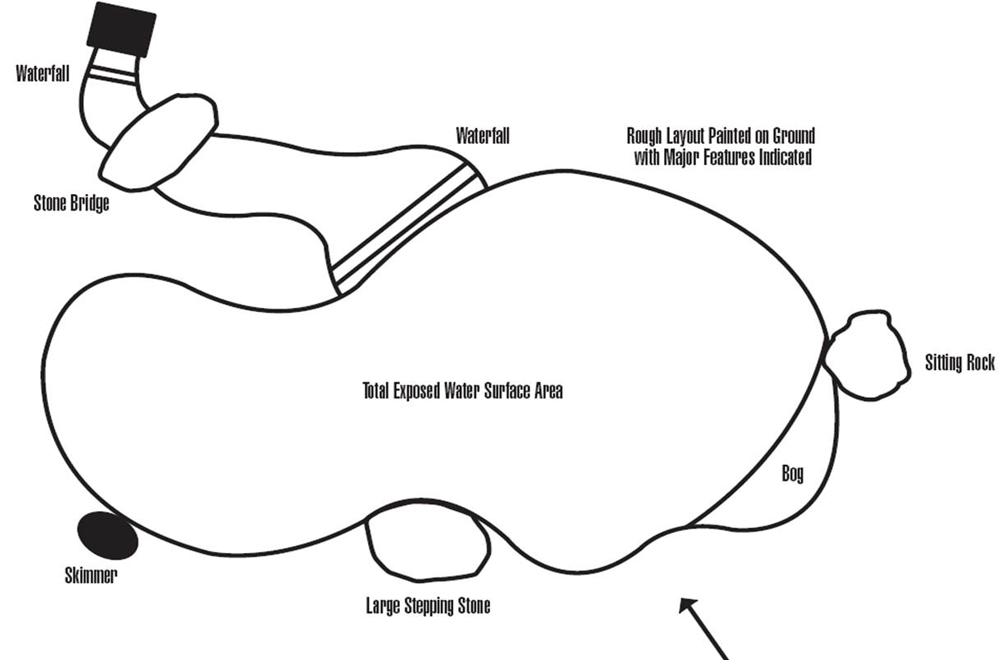
Once you know where you can, and can’t, locate the pond, you can start to think about the layout. Give yourself some time to walk around the site, envisioning what is to come. Think about what you’ll be seeing, and from where. Start with the major features like the waterfall. Usually you’ll want to site the waterfall at the far side of the pond, relative to the main direction of view, so that’s the side the biological filter should be on. For best circulation, locate the skimmer at the opposite end of the pond from the waterfall or stream (typically the ‘near’ side), figuring where best to site it so the whole pond gets good circulation and all the leaves get swept into the skimmer, no “dead spots” to cause additional maintenance. The pond itself will be easiest to build and maintain if you make create gentle curves with no sharp corners or radical promontories to block circulation and complicate setting the liner.

The area will look much more natural if you resist the temptation to heap the soil from the pond excavation into a large “volcano” or “pimple” that juts up out of nowhere. The best effect is achieved with a gentle mound that spreads out behind the falls and blends as naturally as possibly with the existing grade, so bear that in mind as you envision the area. Resist the temptation to put the Biological Filter at the very highest point of the mound, since water never springs from the highest spot on a hill in nature. Consider saving time and trouble by plumbing and setting the Biofilter and tubing in position before excavating, so you’ll be able to backfill around them with the soil you’re about to excavate. The soil will be loose enough for minor adjustments, at least until it’s tamped, so an approximate position is good enough for now.

If you are considering putting in a bog to really enhance the pond, which is strongly recommended for lots of reasons, mark the location(s) out now. Passive bogs can be as simple as narrow gravel beds along the edge of the pond or stream. Active bogs are shallow gravel beds where water is actively pumped into the root zones of bog plantings. Whichever you choose, you’ll want to plan out the water flow before excavating. You may want to widen the stream or the perimeter of the pond where there’s good circulation, or install a tee and a valve off the main line to the waterfall to feed an active bog island, or dedicate a separate small, high efficiency pump to run water through an overflowing gravel planter. See the College of Filtration, Natural Filtration for bog ideas. Whatever you decide, planning now will help you hide the plumbing later.
Finally, mark out other decorative elements like bridges or specimen stones now as well, and don’t forget about access. You may want to move large items into approximate position before excavating so you won’t have to chance moving them around a huge hole in the ground. Remember, the more you do before you dig, the better!
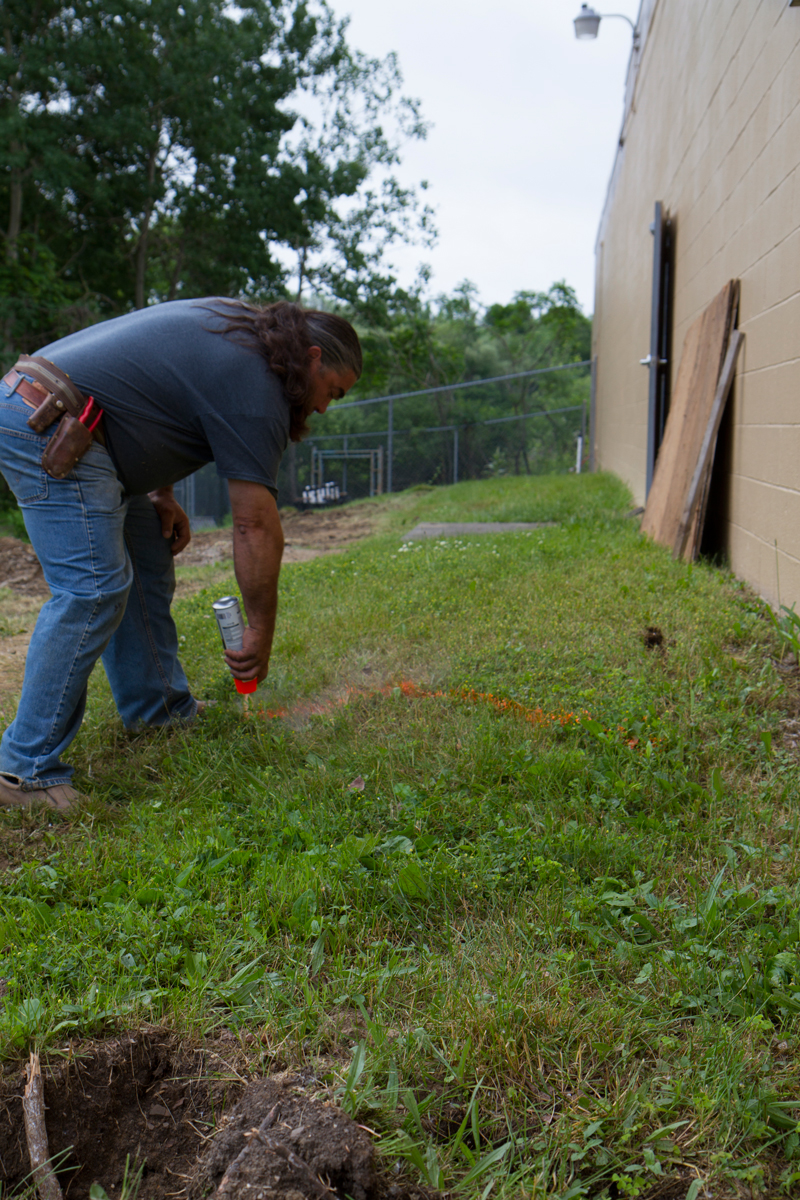
This is the time to build as complete a picture in your mind’s eye as you can, on the site, with a tape measure, pencil and paper to take dimensions, notes, maybe even rough out a guide map for what’s to come. Once you know exactly what and where the surface details of the pond will be, you can think about the fish eye view next.
Once you know where you can, and can’t, locate the pond, you can start to think about the layout. Give yourself some time to walk around the site, envisioning what is to come. Think about what you’ll be seeing, and from where. Start with the major features like the waterfall. Usually you’ll want to site the waterfall at the far side of the pond, relative to the main direction of view, so that’s the side the biological filter should be on. For best circulation, locate the skimmer at the opposite end of the pond from the waterfall or stream (typically the ‘near’ side), figuring where best to site it so the whole pond gets good circulation and all the leaves get swept into the skimmer, no “dead spots” to cause additional maintenance. The pond itself will be easiest to build and maintain if you make create gentle curves with no sharp corners or radical promontories to block circulation and complicate setting the liner.

The area will look much more natural if you resist the temptation to heap the soil from the pond excavation into a large “volcano” or “pimple” that juts up out of nowhere. The best effect is achieved with a gentle mound that spreads out behind the falls and blends as naturally as possibly with the existing grade, so bear that in mind as you envision the area. Resist the temptation to put the Biological Filter at the very highest point of the mound, since water never springs from the highest spot on a hill in nature. Consider saving time and trouble by plumbing and setting the Biofilter and tubing in position before excavating, so you’ll be able to backfill around them with the soil you’re about to excavate. The soil will be loose enough for minor adjustments, at least until it’s tamped, so an approximate position is good enough for now.

If you are considering putting in a bog to really enhance the pond, which is strongly recommended for lots of reasons, mark the location(s) out now. Passive bogs can be as simple as narrow gravel beds along the edge of the pond or stream. Active bogs are shallow gravel beds where water is actively pumped into the root zones of bog plantings. Whichever you choose, you’ll want to plan out the water flow before excavating. You may want to widen the stream or the perimeter of the pond where there’s good circulation, or install a tee and a valve off the main line to the waterfall to feed an active bog island, or dedicate a separate small, high efficiency pump to run water through an overflowing gravel planter. See the College of Filtration, Natural Filtration for bog ideas. Whatever you decide, planning now will help you hide the plumbing later.
Finally, mark out other decorative elements like bridges or specimen stones now as well, and don’t forget about access. You may want to move large items into approximate position before excavating so you won’t have to chance moving them around a huge hole in the ground. Remember, the more you do before you dig, the better!
This is the time to build as complete a picture in your mind’s eye as you can, on the site, with a tape measure, pencil and paper to take dimensions, notes, maybe even rough out a guide map for what’s to come. Once you know exactly what and where the surface details of the pond will be, you can think about the fish eye view next.


